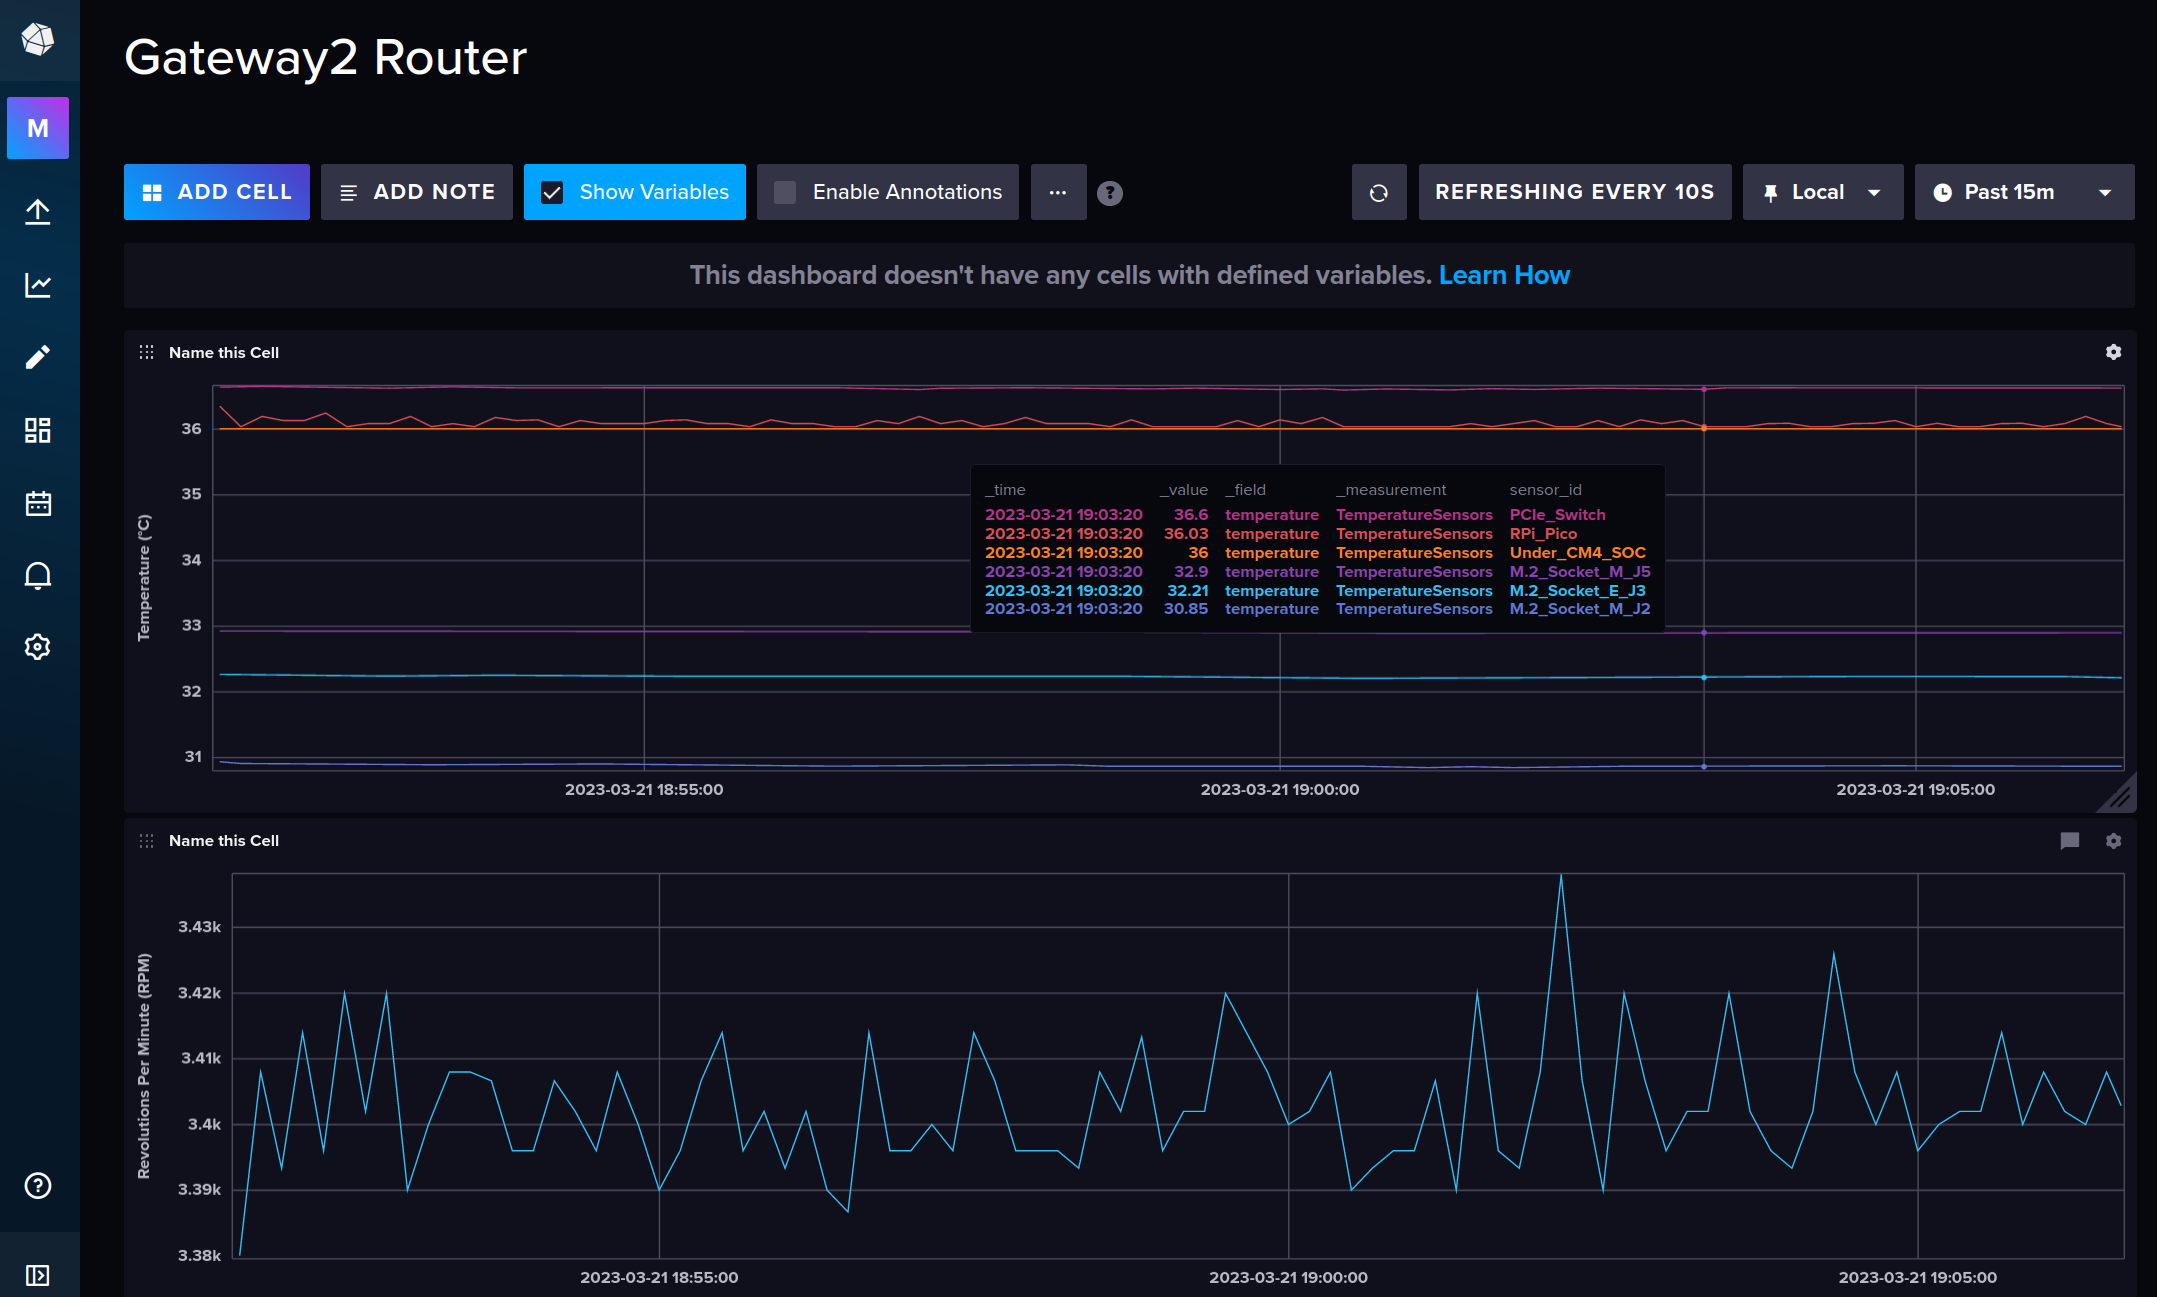
The CM4-WRT-A OpenWrt image includes a service called picod, which communicates with the Raspberry Pi Pico collecting periodic measurements from six temperature sensors on the CM4-WRT-A board, as well as the system fan Revolutions Per Minute (RPM). Below is a screenshot showing an example of an InfluxDB dashboard displaying the six temperature sensors and system fan RPM of the CM4-WRT-A board.
As indicated above, the OpenWrt service picod natively supports InfluxDB. The interface can be
configured via the picod config file located at /etc/picod.conf on the CM4-WRT-A router.
Below is a screenshot showing the settings needed for picod to publish data to InfluxDB.

The InfluxDB interface is not enabled by default, so the value of the variable enable_influx_db should
be set to true in order to enable this feature. You can change the values of influx_org_id
and influx_bucket if you like, just make sure to match what you setup in step 2 below.
As for the influx_token, you can provide one or let InfluxDB generate one for you as part of the setup
process below (step 3). The CM4-WRT-A GitHub repository
includes a script to setup a Docker container running InfluxDB that will display your board temperatures and fan speed.
How to setup InfluxDB for the CM4-WRT-A router board
-
If you haven't already done so, clone the CM4-WRT-A repository:
git clone https://github.com/MyTechCatalog/cm4-wrt-a.git -
Edit the setup script
cm4-wrt-a/setup-influxdb.shto set a username and password used to access InfluxDB, as well as organization ID and bucket name if you like. The lines to edit are highlighted in the screenshot below.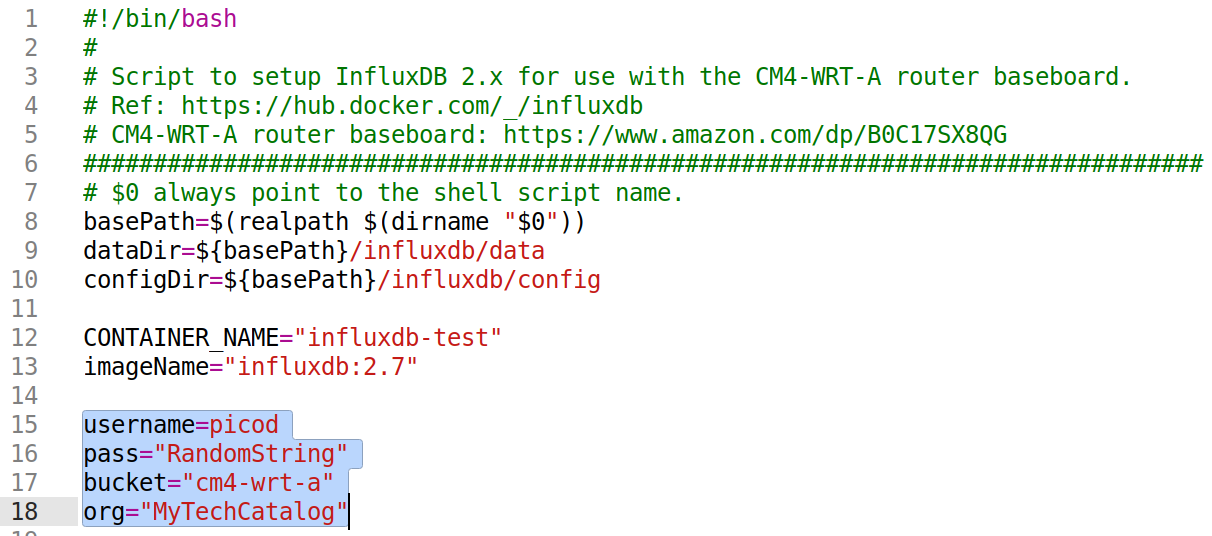
-
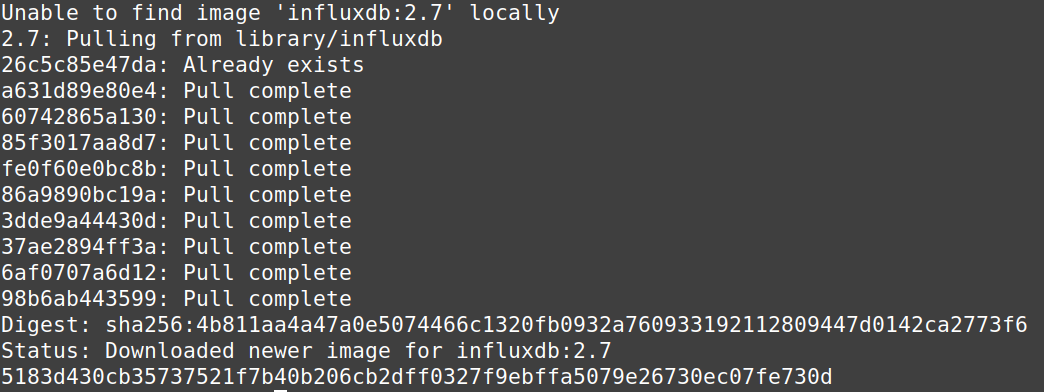
Run the InfluxDB setup script to start a Docker container:
cd cm4-wrt-a && ./setup-influxdb.shOutput of running InflxDB setup script.
-
The InfluxDB data and config folders will be stored in this folder: cm4-wrt-a/influxdb
Open the file
cm4-wrt-a/influxdb/config/influx-configsin a text editor and copy the token value. An example is highlighted in the screenshot below. Paste this value in the/etc/picod.conffile on the CM4-WRT-A router, overwriting the current value ofinflux_token. Also make sure that the values ofinflux_bucketandinflux_org_idmatch what you entered in thesetup-influxdb.shscript in step 2 above.
-
Login to your CM4-WRT-A router via SSH. Stop and Start the picod service using the commands below:
root@gateway2:~# /etc/init.d/picod stop
root@gateway2:~# /etc/init.d/picod start
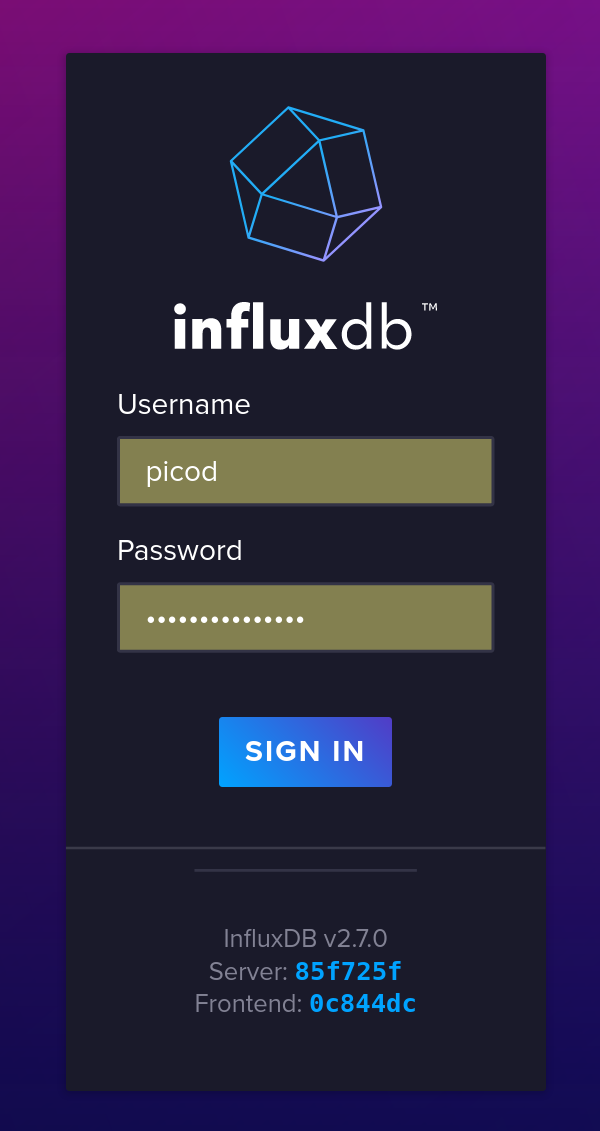
You can now navigate to InfluxDB at http://localhost:8086/ and login to setup your Dashboard.