The first step is to generate a firmware image with all the necessary drivers to access the second Ethernet port (ETH1), NVME storage devices, as well as the i2c bus on the CM4-WRT-A router board.
The build script, available on my GitHub requires Docker, which can be installed via the terminal on Ubuntu or Debian by invoking the following commands:
Prepare Environment / Install Prerequisites
sudo apt update
sudo apt install -y docker.io
sudo usermod -aG docker $USER
That last command allows you to run Docker without having to use sudo. You may have to logout and back in again for it to take effect. You can test that everything is okay and ready to go by running the following command in the terminal:
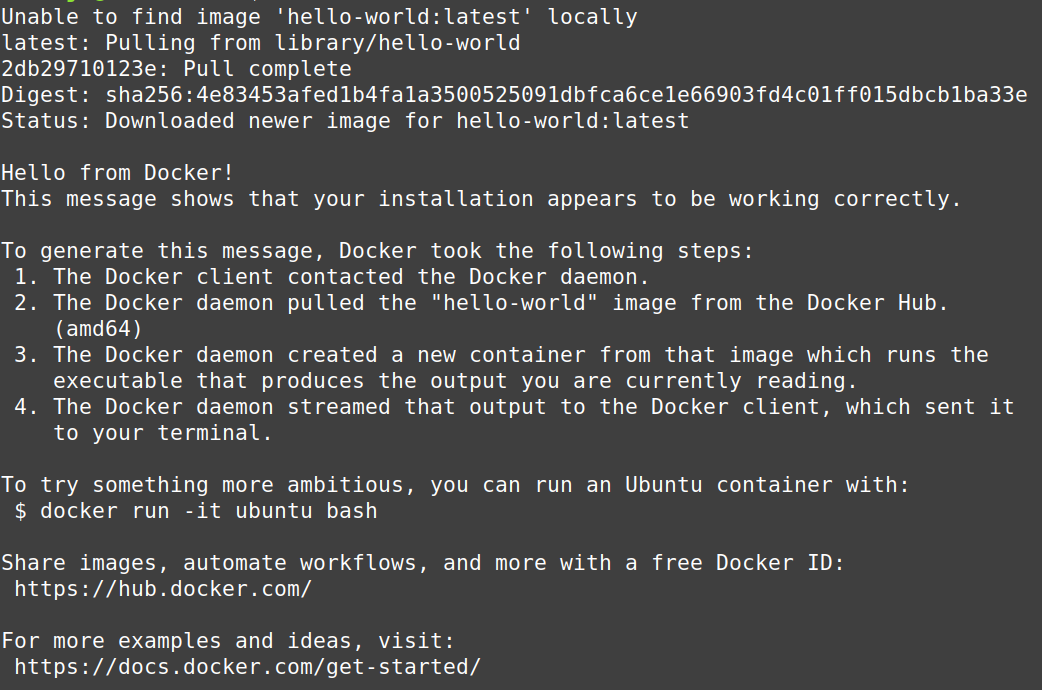
docker run hello-worldYou should see something like the following:
Building OpenWrt
It will be possible to update this OpenWrt build by adding kmods and packages from the official repository using opkg, or LuCI software interface.
-
Clone the CM4-WRT-A repository:
git clone https://github.com/MyTechCatalog/cm4-wrt-a.git -
Run the OpenWrt build script:
cd cm4-wrt-a && ./build-openwrt.sh - The OpenWrt images will be located in this folder: cm4-wrt-a/bin/targets/bcm27xx/bcm2711/
-
Upon first boot up, install the following kmods:
kmod-i2c-core kmod-i2c-bcm2835 kmod-nvmeroot@OpenWrt:~# opkg update root@OpenWrt:~# opkg install kmod-i2c-core kmod-i2c-bcm2835 kmod-nvme
The build script will use the latest tag/version from the OpenWrt repo. If you need to build a specific OpenWrt release version in step 2 above, specify the tag name after the script, for example:
./build-openwrt.sh v23.05.6
How to verify that picod is running on OpenWrt
After running the following command: ubus call picod status, you should see output similar to:
root@OpenWrt:~# ubus call picod status
{
    "fan_pwm_pct": {
        "System_Fan_J17": 50,
        "CM4_FAN_J18": 50
    },
    "watchdog": {
        "is_enabled": "false",
        "timeout_sec": 10,
        "max_retries": 0
    },
    "temperature_c": {
        "PCIe_Switch": "36.2",
        "M.2_Socket_M_J5": "34.5",
        "M.2_Socket_E_J3": "34.8",
        "M.2_Socket_M_J2": "33.0",
        "RPi_Pico": "37.4",
        "Under_CM4_SOC": "36"
    },
    "tachometer_rpm": {
        "System_Fan_J17": 3420,
        "CM4_FAN_J18": 0
    }
}
Otherwise, if you get an error such as the one below:
root@OpenWrt:~# ubus call picod status
Command failed: Not found
It means that the name of the CM4's serial port (device path) connected to the RPi Pico, is different
from the default value in the picod configuration file /etc/picod.conf.
Edit line 29 in the config file /etc/picod.conf by replacing /dev/ttyAMA3 with the second device path obtained from the output of the following command:
root@OpenWrt:~# ls /dev/ttyA*
/dev/ttyAMA0  /dev/ttyAMA1
For example, based on the above output, line 29 of /etc/picod.conf should be edited to read:
pico_serial_device_path="/dev/ttyAMA1"Start the picod service, and then verify that it is running as described above:
root@OpenWrt:~# /etc/init.d/picod startIf you have a Raspberry Pi Compute Module 4 (CM4) with eMMC, it can only boot off of eMMC and cannot boot off of a microSD, as far as those two boot options are concerned. The converse is also true. The next section applies to CM4s with eMMC only.
#Preparing to flash the Raspberry Pi Compute Module 4 (CM4) using a CM4-WRT-A baseboard
The idea is to mount the eMMC on the CM4 as a USB Mass Storage device on a another computer, and use the Raspberry Pi Imager to flash the OpenWrt image that you just built following the steps above onto the CM4. You will need a computer running Linux. This works for a Mac too, however, I am only going to describe the Linux method here.
With power to the CM4-WRT-A board turned off, short/connect pins 3 and 4 on the header marked J14 (bottom right in the picture below), using a jumper or jumper wire.
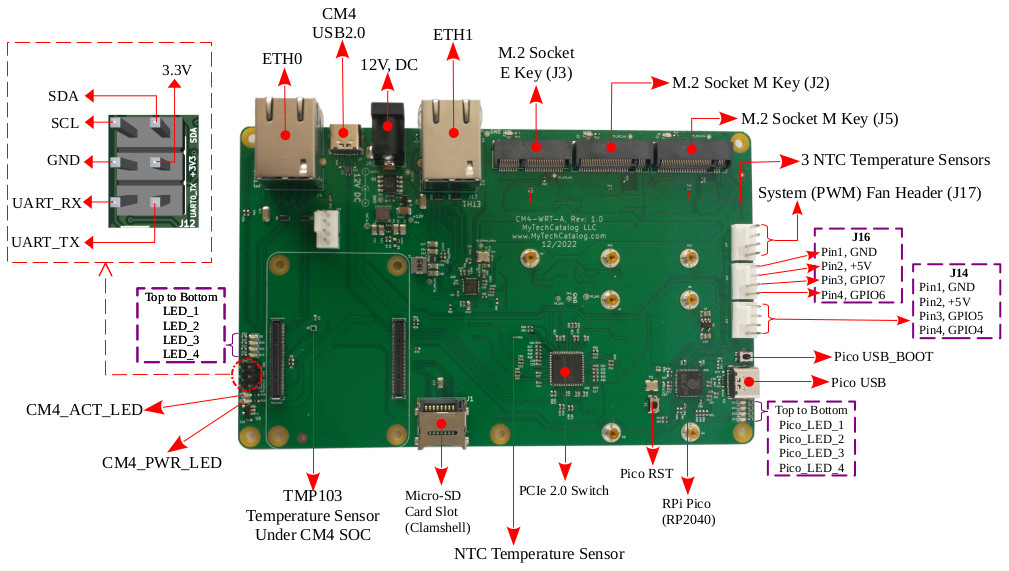
Connect the CM4 USB2.0 port (top left in the figure above) to an available USB port on the computer and provide power to the CM4-WRT-A board (plug in and/or turn on the 12V power input).
Download and compile the source code of a tool called usbboot, that is used to mount the CM4's eMMC storage:
sudo apt install git libusb-1.0-0-dev pkg-config
git clone --depth=1 https://github.com/raspberrypi/usbboot
cd usbboot
make
sudo ./rpiboot
If you are using a non Linux computer, or would like to checkout the original instructions, visit the usbboot github page.
Flashing the Raspberry Pi Compute Module 4 (CM4)
After executing the last instruction in the above code block, you should be able to see the boot volume
mounted.
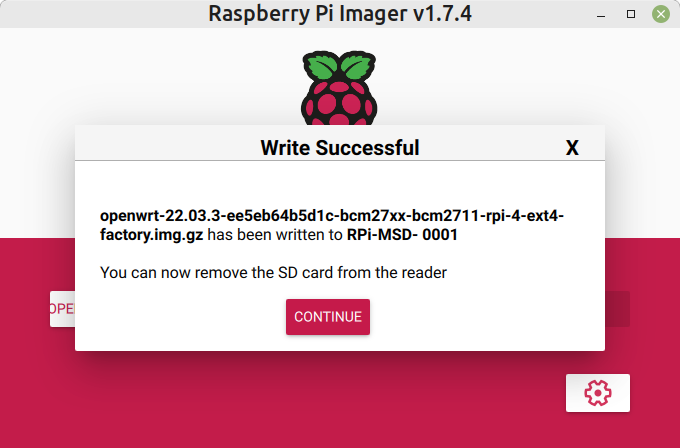
Use an application like the Raspberry Pi Imager to flash the image onto the eMMC:
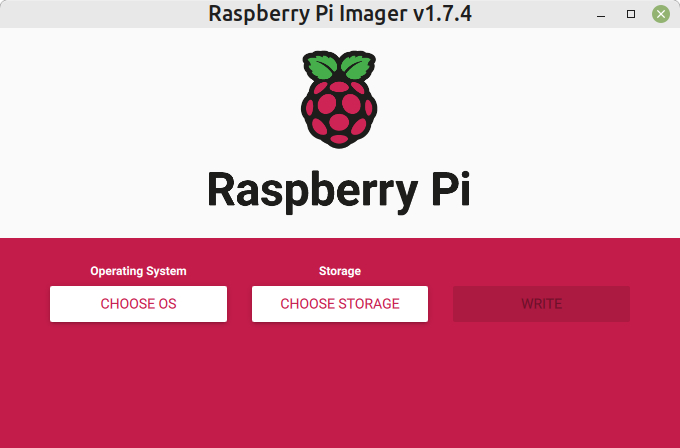
When the flashing is done, don't forget to eject the boot volume.
You can now unplug the USB cable from the CM4-WRT-A board, turn off its power, and remove the jumper across pins 3 and 4 on the header marked J14.
Power up the CM4-WRT-A board again (without the jumper), and it will boot into OpenWrt. Connect an Ethernet cable directly between your computer and the ETH0 (LAN) port of the CM4-WRT-A board, and navigate to http://192.168.1.1 You should see a login screen similar to the one below:
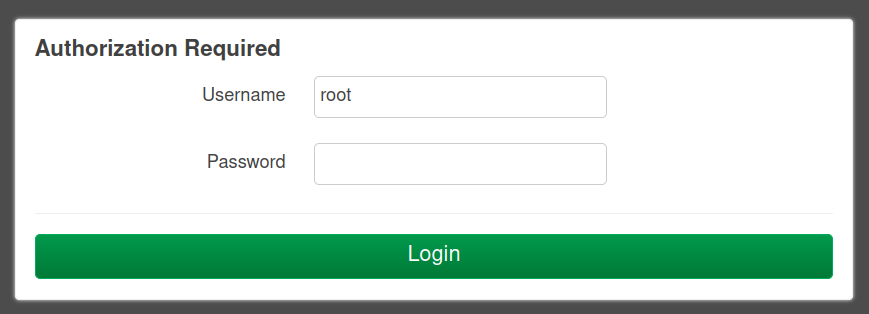
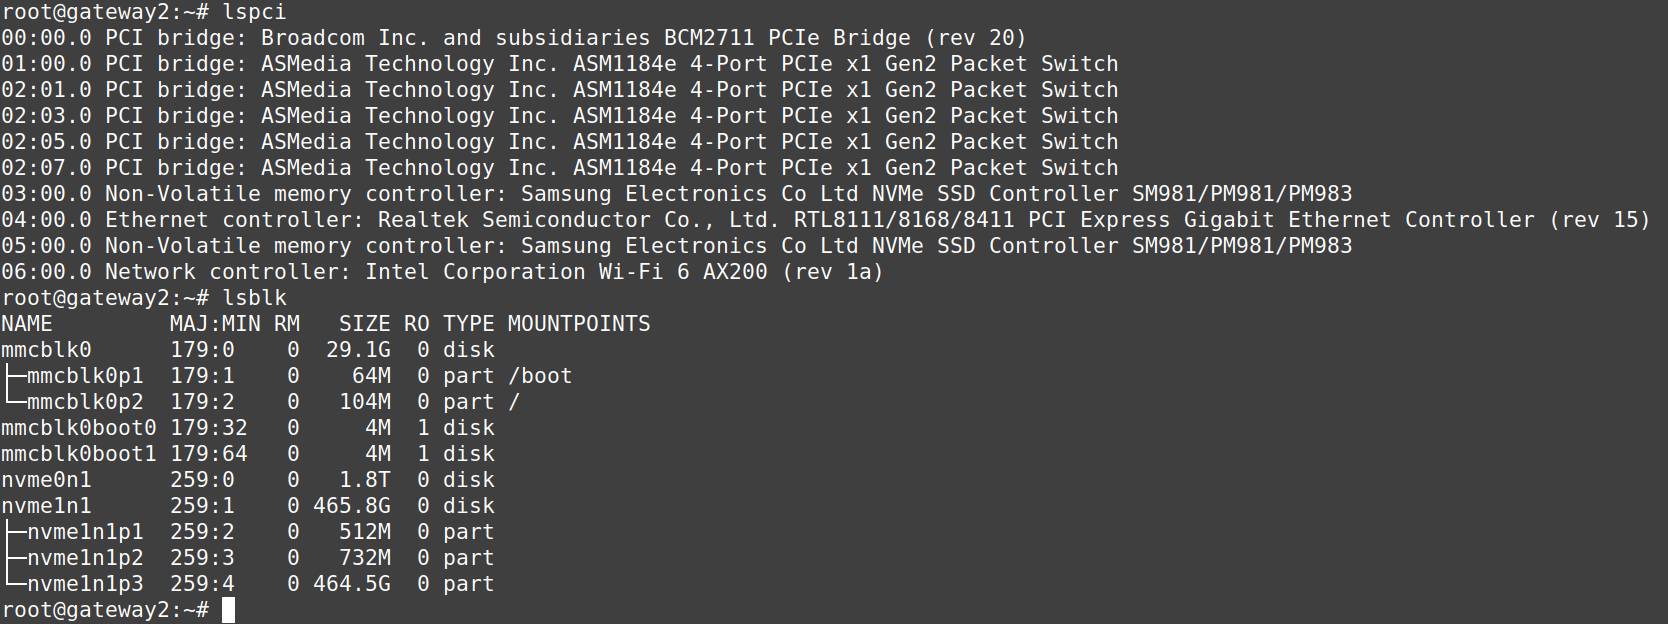
You can also login via the terminal using this command: ssh root@192.168.1.1 Below is
an example of output from running lspci and lsblk on a CM4-WRT-A terminal: